Although this isn't the last blog about our month long journey, it is the final day of CCLV 2012.

for design inspi-ration. We’ll discuss ways of mixing it up and playing with these elements to make them your own by making them personal, meaningful, sacred, change the scale or propor-tions, vary the color palettes, meaningful, funny, dark, etc. I’ll also demo and discuss ways to extend these imitatives into charms, pendants, amulets, hollow forms, arma-tures, tube constructions, links, connections, reliquaries, veneers....
We won’t have time to do all of the above discussions, but you should have time to start making charms or beads for a fall charm bracelet or Halloween (bones, etc.) bracelet."
Wendy and Leslie based this class on a painting by Hieronymus Bosch called "The Garden of Earthly Delights. I quote from their handout, "His work is detailed, strangely beautiful, and familiar, funny, scary, and creepy, all at the same time. When people look at it, it brings forth the same reaction today as it did back in 1505 when he painted it. Our expectations are not for you to copy the art of Hieronymus Bosch, but to be inspired by his reflections of nature, the human form and his wild imagination." Here is a copy of the painting we examined:

It was lots of fun but very challenging for me, personally.

Wendy is a new instructor to CCLV and we (the Rowdy Room, remember?) were told to be very nice to her as she was a quiet, rather shy individual and we shouldn't do anything to embarrass her or make her uncomfortable in any way.

We were on our best behavior, but as soon as she stepped into the room, the warnings seemed a bit fishy. . . We were greeted by a wonderful instructor with a load of fun and whimsy up her sleeves (or would that be on her head). I don't know how much detail you can see in her "crown", but it is made of birds skulls, bones, and other such "stuff". This is just a tiny sampling of Wendy's work
 As an example of her "whimsy", there is this root that is actually a "maraca" type shaker instrument she made for her musician husband, who refused to use it because it was too. . . well, just too much. It actually has real teeth imbedded in it for it's toothy smile.
 As an example of her "whimsy", there is this root that is actually a "maraca" type shaker instrument she made for her musician husband, who refused to use it because it was too. . . well, just too much. It actually has real teeth imbedded in it for it's toothy smile.
She also had a box full of goodies and examples for us to imitate or try to reproduce.
Many of these items are not reproductions, but are the real thing. Pieces of antlers, bones, mushrooms, sticks, and stones were there for our examination.

Wendy explained that she lives near a forested area and often finds these things that lend themselves well to polymer clay reproduction.


 Wendy's attention to detail and ability to reproduce such detail faithfully was just amazing.

 My efforts were very amateurish and not complete, as they need antiquing and color added, but I did at least make the attempts. There's just something about bird heads without bodies that just bothers me, somehow, but I made one anyway.
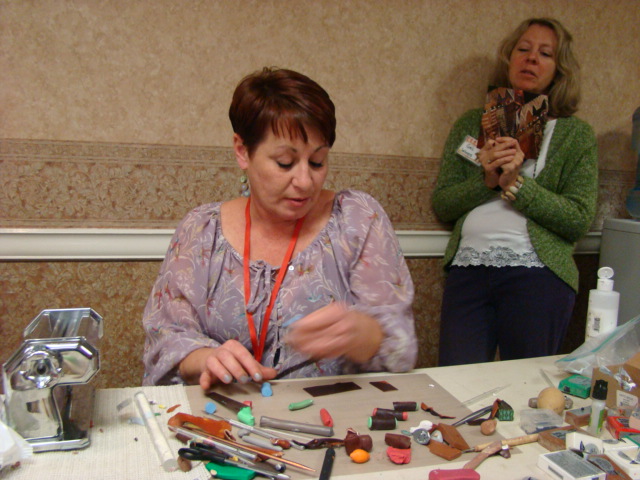
 I will admit, though, my time was spent quite happily snapping pictures during much of Wendy and Leslie's final classes. Yes, Leslie returned to us for this class with the "animal" parts of the nature scene, as well as her own take on branches etc.


 I have shown pictures of Leslie's work in other posts but here is one I really like that has meaning for me: "Words Hurt" with stick's and stones as a necklace.


 and finally, this special little snake on a branch that I shamelessly begged to purchase for Mr. C who loves snakes:
  Since this was the final class for CCLV 2012, I snapped away with my camera recording all the wonderful friends and fellow students while they were totally absorbed with Wendy and Leslie's presentations. The last of these photos is a very special one, as our class had a special surprise and presentation for 2 of our "classmates". Remember, these photos are not posed and most of these people did not even realize I was taking their pictures, they all look so serious and immersed, maybe even mesmerized, by the instruction they were receiving:
  I won't name any names (to protect the innocent), you all know who you are. . Thanks for a great time.

 Okay, maybe one or two noticed I was taking their pictures, LOL.


As we were packing up and getting ready to leave this final class, a presentation was made as an offering of love and appreciation for our two Karens.

Karen, our own "Oven Angel" for her complete control of the oven and being sure our creations were all fired in a timely manner and Karen our other friend who had lost her beloved mother shortly before CCLV and almost didn't attend due to her grief. We were glad to have them both there and each of us donated a bead (any bead we chose) to make a necklace, which Lisa cheerfully strung (all in secrecy) for us.
Thanks to everyone for making CCLV 2012 another wonderful experience and memory. Smiles, Sue C
P.S. there are more blogs planned as to the rest of our travels for 2 weeks following Clay Carnival, but that's all for tonight.